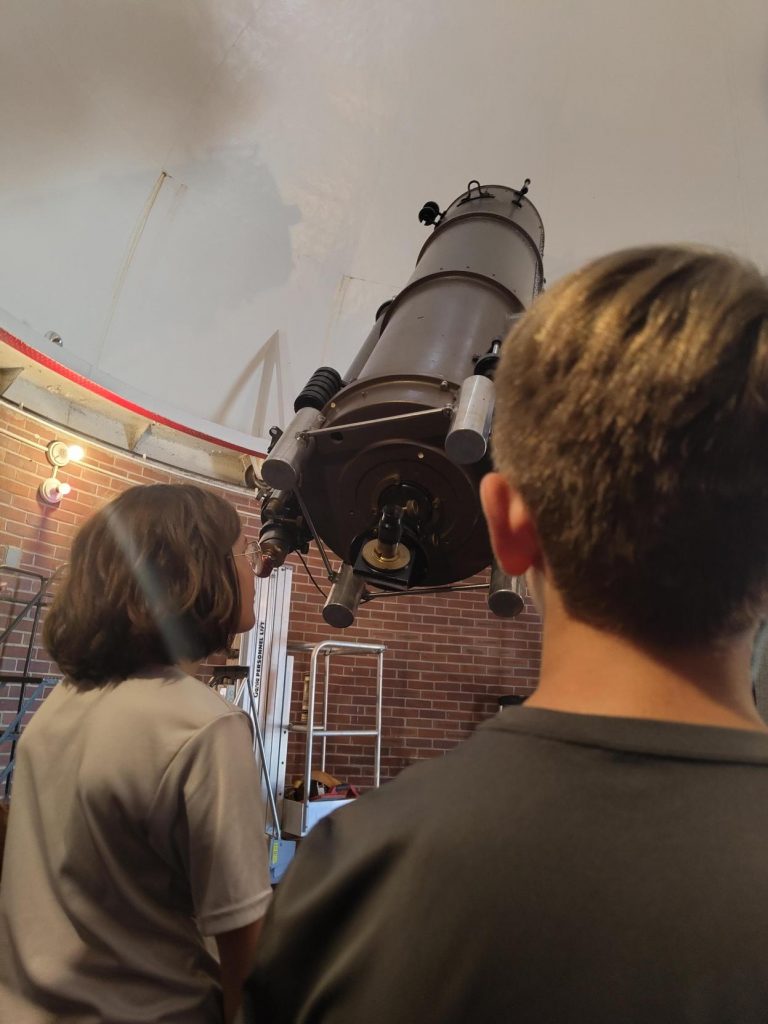
Today, the astronomy students made their first visit to Vanderbilt’s Dyer Observatory in Brentwood, Tennessee. Upon arrival, we began a short tour through the observatory’s exhibits, including discussions of the scale models of the James Webb Space Telescope and Hubble Space Telescope that reside in the observatory library. One of the unexpected highlights was the library’s original planetarium dome. When standing at certain locations under the 24’ hemisphere, a person can literally whisper to a partner standing on the other side of the dome, and it will sound like they are standing just inches apart, a characteristic of a hemisphere’s ability to focus sound. Standing at the very center of the dome results in a person’s voice coming straight back to them, akin to speaking in your own ear. Our tour ended at the historic 24” Seyfert Telescope where we had another unexpected treat– a nest of four baby wrens that called the Seyfert Telescope dome home chose today to fledge; however, due to their inability to yet attain a good amount of vertical lift, the Dyer staff had to help them out by wrangling and transporting them outside. The group got to observe the release of the four fledglings in a nearby bush.
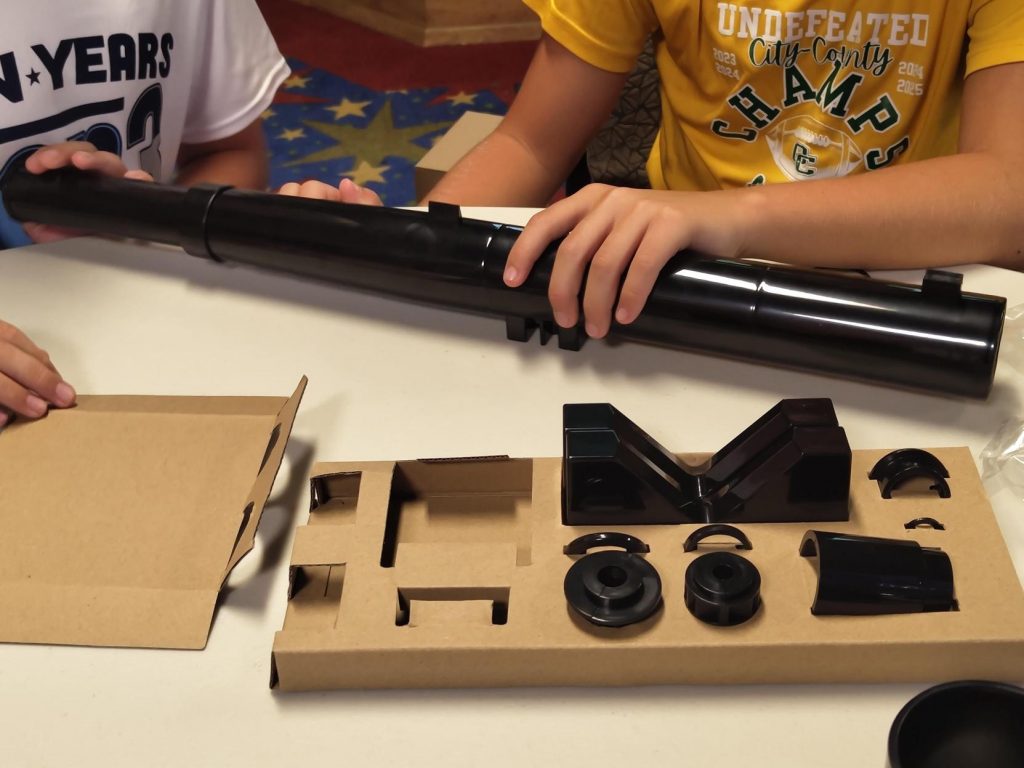
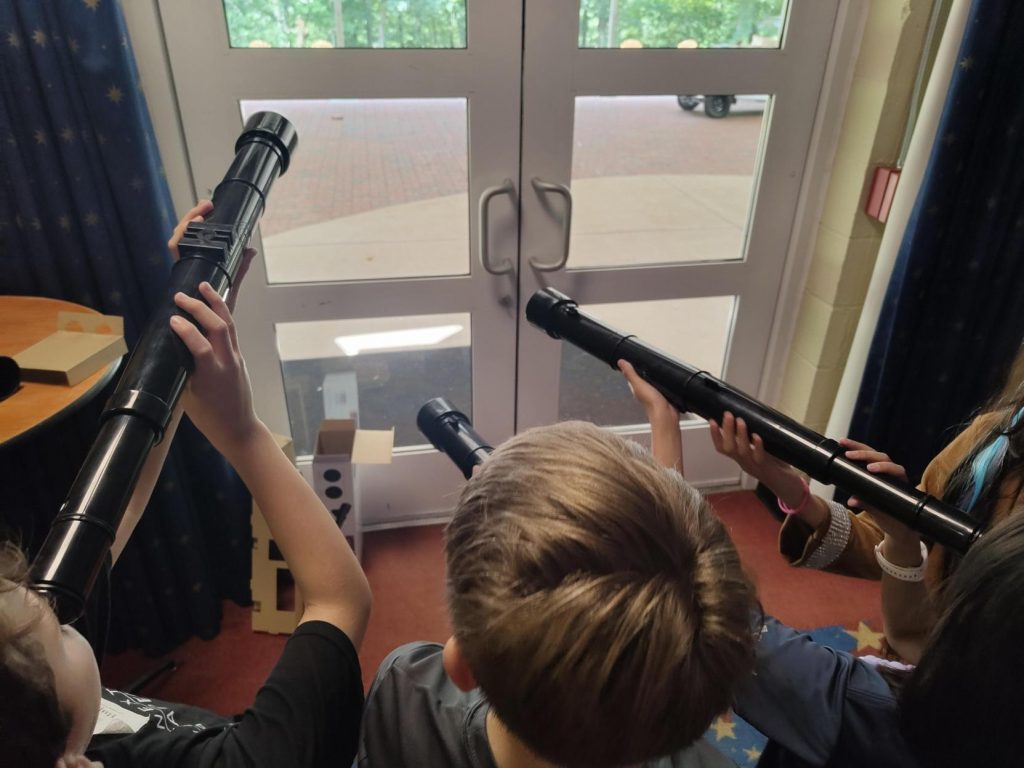
For the remainder of the morning, we worked with telescopes. After touring the Seyfert Telescope (which they will observe with this week if clouds don’t interfere), the students paired up as we assembled Galileoscopes, functional refracting telescopes with a 2” aperture. This assembly project was very thorough – students had to mount a large objective lens at the front of the telescope, assemble eyepieces that had up to four lenses within, and then mount everything together to form a surprisingly good image. We will continue our discussion of telescopes on Wednesday, including why the images they saw through the Galileoscopes were inverted and backwards.
Once we returned to campus, we switched our focus to light. We began with a discussion about spectra and how atoms will emit certain colors of light unique to those atoms. We then discussed how stars, including our Sun, have dark bands that are usually hidden with the rainbow of colors, how atoms present within the stars are absorbing colors, and how these two aspects are connected to the colors the atoms can emit – if we see certain colors missing in the star’s light, the same atoms that can produce those colors are also responsible for absorbing them. In other words, by mapping out the colors atoms emit in the laboratory, we now have a way to figure out what a star is made of.
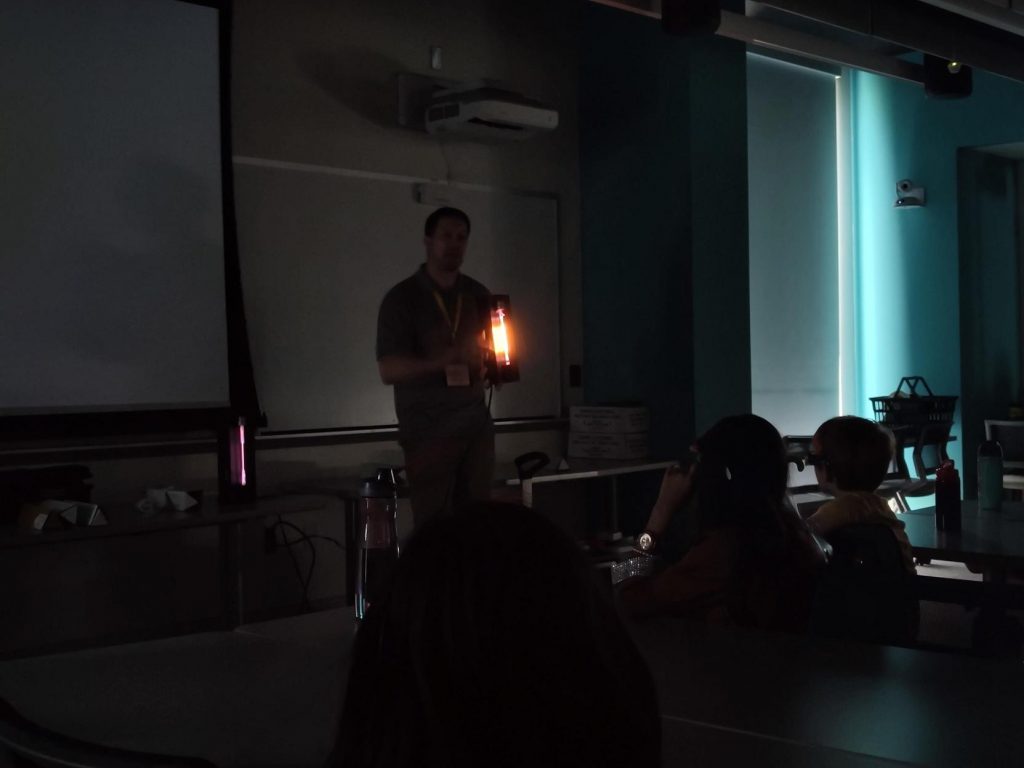
Our day ended with an exercise in spectroscopy. The students were given handheld spectrometers that would project the spectrum of a light source on a scale. They would then try to accurately draw the spectrum on their own wavelength scale, carefully noting where each band of color fell on the scale. Once the spectra were drawn, students accessed a website that displayed the spectrum of atoms found on the periodic table. The goal was to try to match what they drew with the spectra of atoms displayed on the website so they could figure out what elemental gas was present in each tube. This is easier than it sounds, given that the spectrometers were orders of magnitude simpler than professional spectrometers. To help out the students, they were eventually given the names of the six mystery elements and tried to figure out with the gas tube contained which element. Overall, a few groups were able to match one or two of the six gases correctly. But, as we pointed out in class, it didn’t matter if you didn’t successfully match any of the gases correctly – the students got firsthand experience in applying the science behind spectroscopy.
Questions for parents to ask:
- What was their student’s favorite part of the observatory?
- What did the spectrum of the gases look like? Did they all look the same? Did some have lots more of one color (e.g., shades of red) than the other colors?
- Was it fun to put together the Galileoscope? Did you find it difficult? How did the image you saw with it look once the assembly was complete?


